Displaying Ads in your Flutter Apps $_$!
Create Google Admob ID
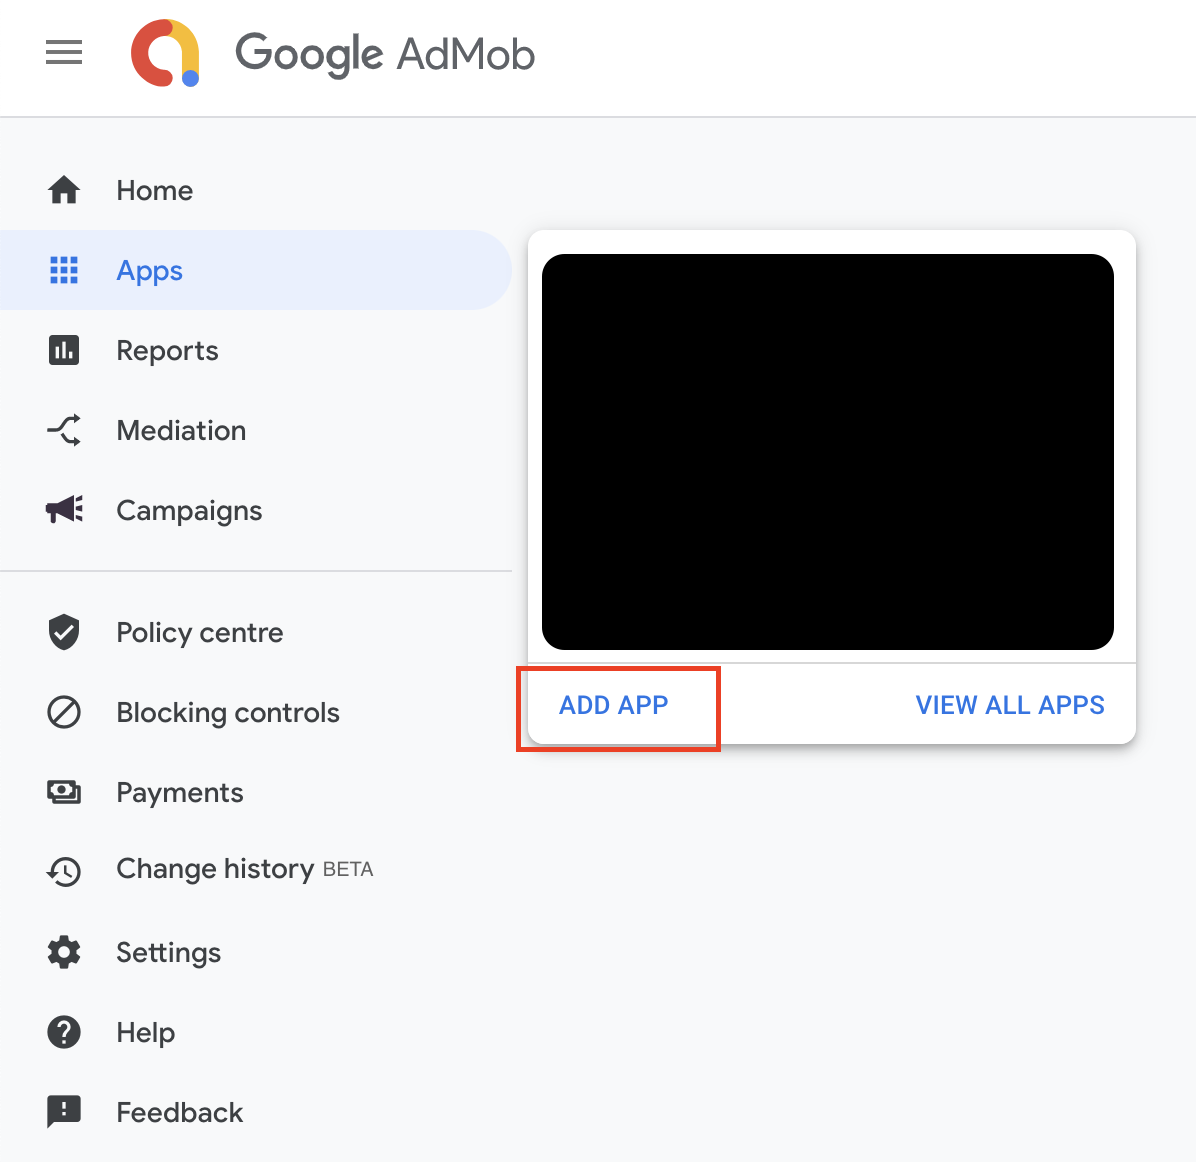
Login in your Google Admob account. Click Apps-> ADD APP

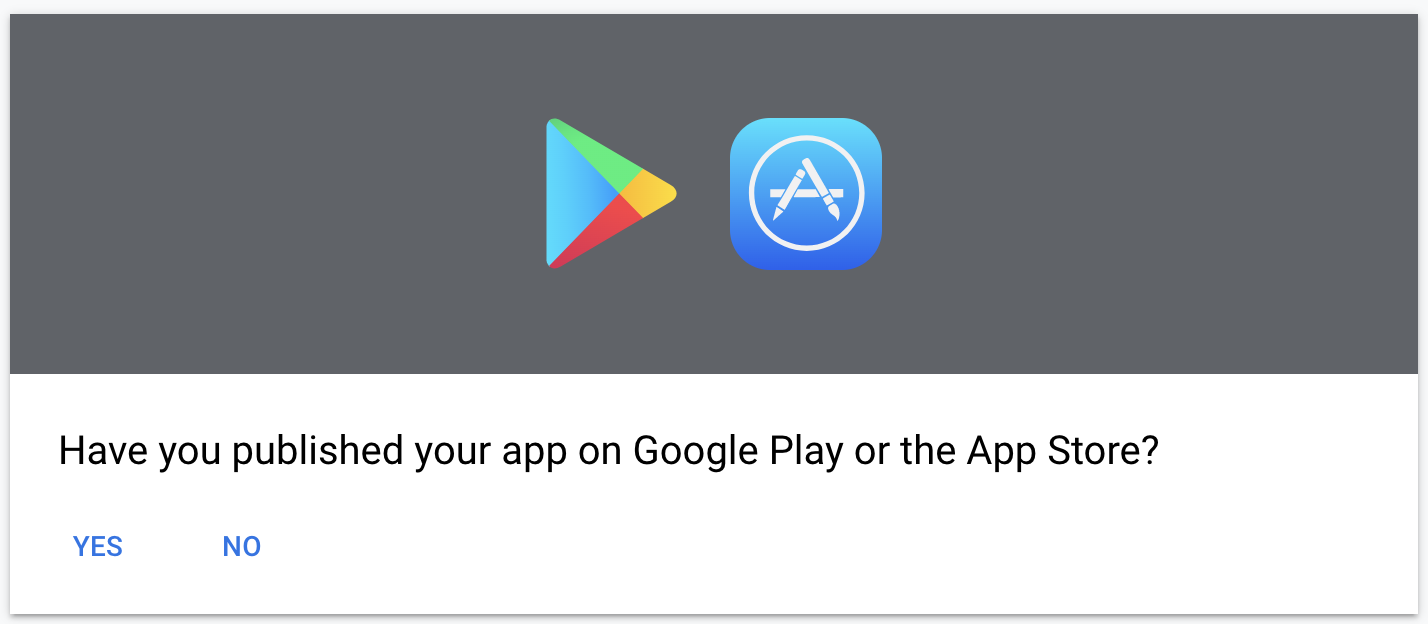
Choose No if you haven’t yet published your app to the store. You can connect your Play Store app with this app id when your app is published.

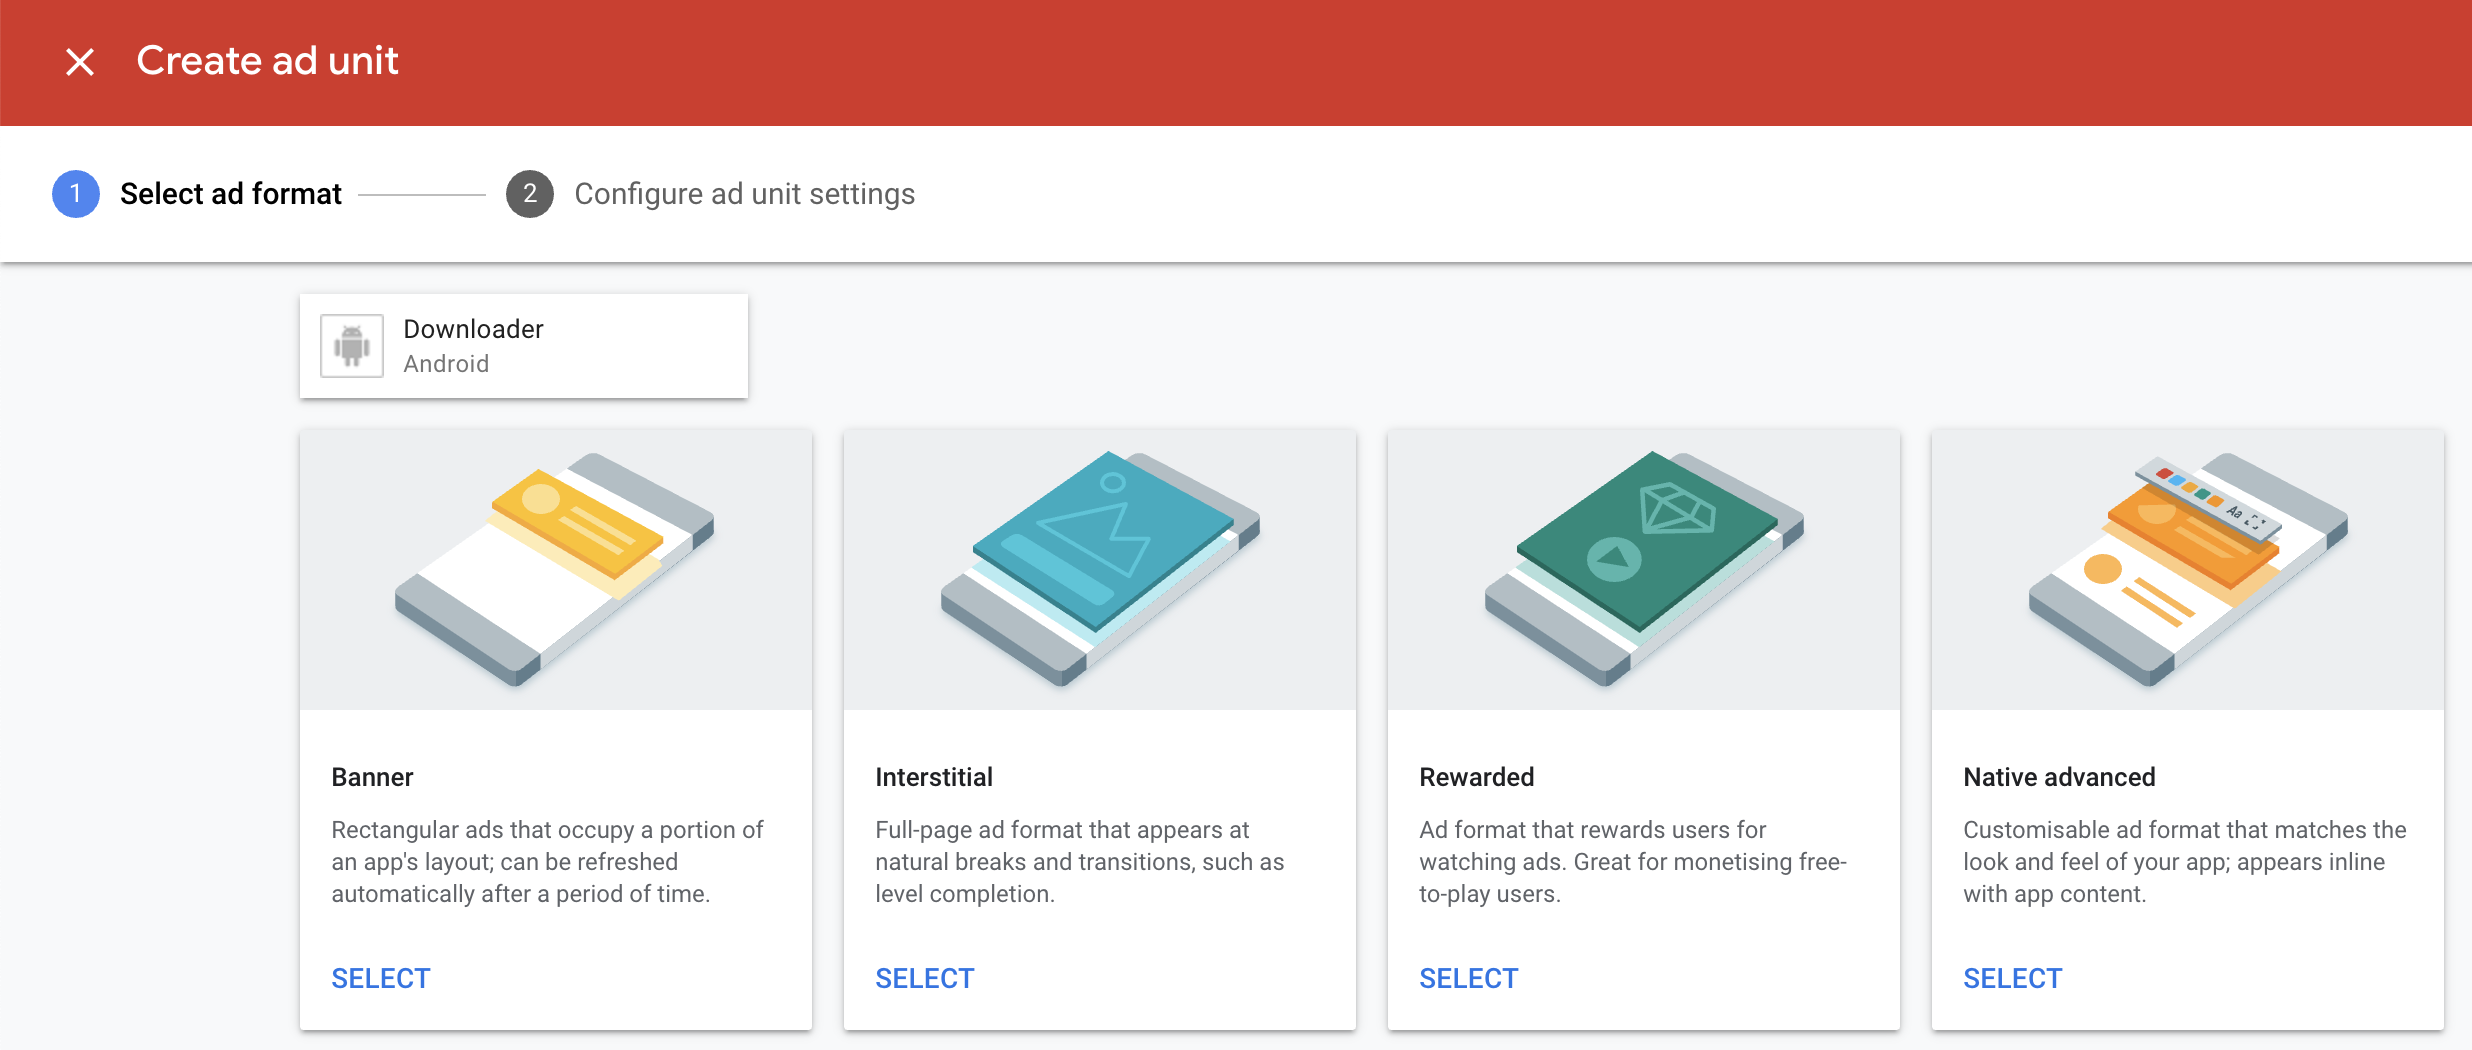
There are 4 types of ads: Banner, Interstitial, Rewarded video, Native.
Choose the suitable ads for your app.

You will get the ad unit id after SELECT the ads above. The name of the ads is up to you.

Android
AdMob 17 requires the App ID to be included in the AndroidManifest.xml. Failure to do so will result in a crash on launch of your app. The line should look like:
<meta-data
    android:name="com.google.android.gms.ads.APPLICATION_ID"
    android:value="[ADMOB_APP_ID]"/>
iOS
Starting in version 7.42.0, you are required to add your AdMob app ID in your Info.plist file under the Runner directory. You can add it using Xcode or edit the file manually:
<dict>
	<key>GADApplicationIdentifier</key>
	<string>ca-app-pub-################~##########</string>
</dict>
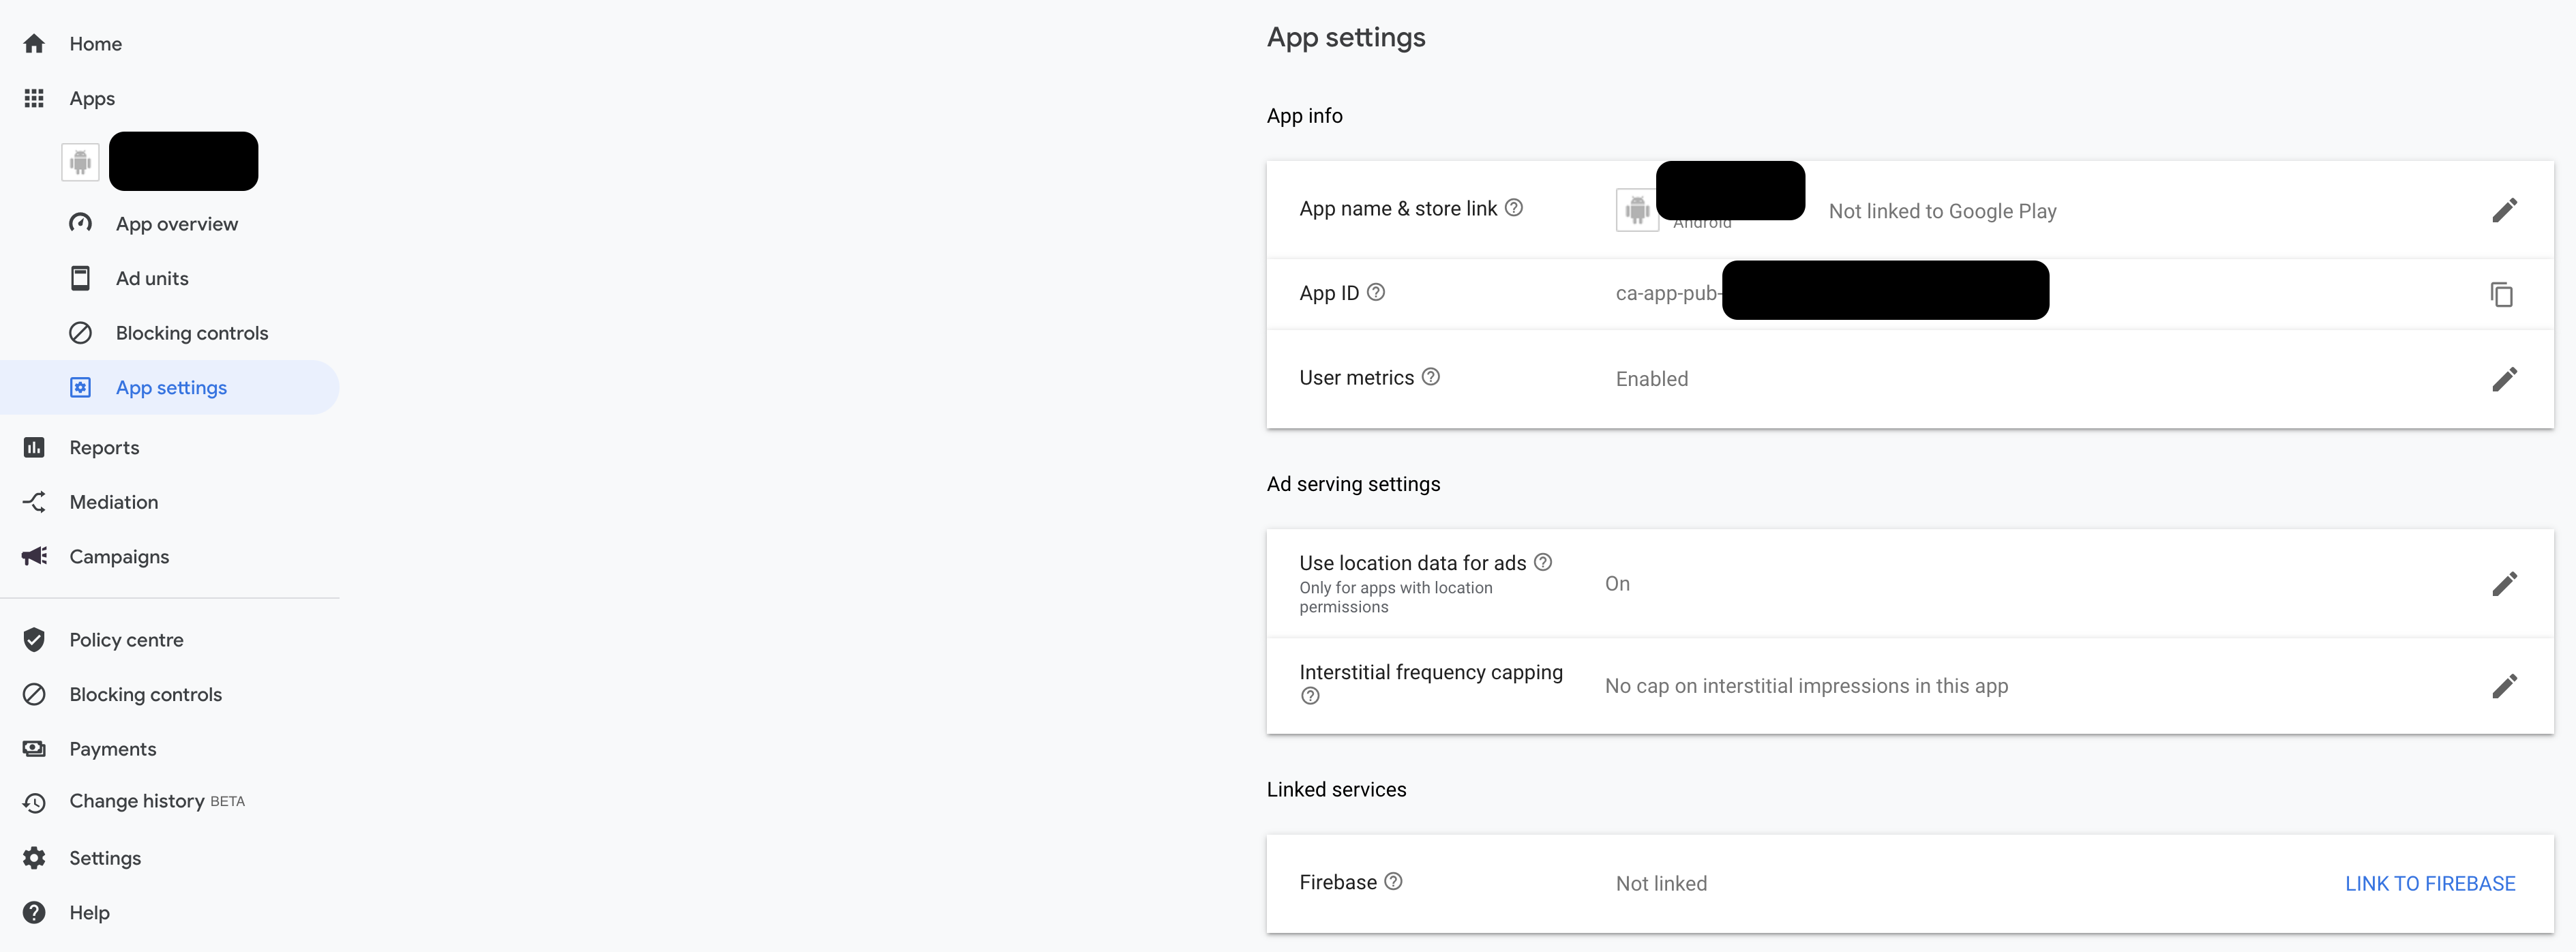
You can find your APP ID in App settings

Initializing the Plugins
For me, I would like to store all the IDs in a class
class GoogleAdmob {
  static String appID = "ca-app-pub-xxxxxxxxxxxxx~xxxxxxxxxxxx";
  static String bannerID = "ca-app-pub-xxxxxxxxxxxxxxxx/xxxxxxxxxx";
  static String intID = "ca-app-pub-xxxxxxxxxxxxxxxx/xxxxxxxxxx";
  static String rewardID = "ca-app-pub-xxxxxxxxxxxxxxxx/xxxxxxxxxx";
}
Add the package firebase_admob into your project.
Paste this line on your home page initState()
FirebaseAdMob.instance.initialize(appId: GoogleAdmob.appID);
Add BannerAd
Create a BannerAd object. Test the ad can be shown by using the testID.
BannerAd myBanner = BannerAd(
  // Replace the testAdUnitId with an ad unit id from the AdMob dash.
  // https://developers.google.com/admob/android/test-ads
  // https://developers.google.com/admob/ios/test-ads
  adUnitId: BannerAd.testAdUnitId, //Replace this id with your BannerAd id you have created
  size: AdSize.smartBanner
);
This line will show the banner at the bottom.
myBanner
  // typically this happens well before the ad is shown
  ..load()
  ..show(
    anchorType: AnchorType.bottom,
  );
You can dispose the Banner:
myBanner.dispose()
Add InterstitialAd (A Full Screen Ad)
Basically same as BannerAd, you can check the firebase_admob document directly.
Add RewardedVideoAd
targetingInfo must be added and the reward video must be loaded before show.
RewardedVideoAd.instance.load(myAdMobAdUnitId, targetingInfo);
Show rewarded video:
RewardedVideoAd.instance.show();
This can loaded the next video ads after the video ad was shown by using the listener.
RewardedVideoAd.instance.listener =
        (RewardedVideoAdEvent event, {String rewardType, int rewardAmount}) {
      if (event == RewardedVideoAdEvent.rewarded) {
        setState(() {
          // Here, apps should update state to reflect the reward.
          // Give the reward to your user! He has watched the whole video!
        });
      } else if (event == RewardedVideoAdEvent.closed) {
        RewardedVideoAd.instance
            .load(adUnitId: GoogleAdmob.rewardID, targetingInfo: targetingInfo);
      }
    };
Add NativeAd
Native ad can insert into anywhere you like, but I will use another package flutter_native_admob. This is much easier to use.
Follow the insturction of the package you will add the native ad easily. The only things I want to mention is that this native ad package will cause RuntimeException: FlutterJNI.ensureAttachedToNative. But this seems nothing happens to the app, so never mind? Tell me if it cause some bug in your app.
Attention
-
You may find that ads
cannot showwhen you are using your own ID just created. Don’t worry, this is because you have not set up your buildReleasesetting. Singing your app and see if it works. -
You will see the real ad when you build the
Releaseversion, and pleasedon't clickthe ad by yourself, Google is watching you! He may warn you if you are doing this. -
If your Admob account is
just created, remember to set thePaymentssetting and you may need to wait for the verification, your ads will be shown after received a verified email from Google.
Comments